Sunday, March 27, 2011

3/27/2011 S-L-O-W Progress

Time flies when you are having fun. I thought I'd have the harp almost done by now- but life interfered and not much progress has been made. The new garden fencing is done, and the new pergola too, so now I can get back to harp making.
Here are some progress photos taken on and off over the past month:


I cut some plugs from the cherry and used them to fill the messy holes in the top of the harp. I thought that round, filled, holes would look better than the grooves, but the tear out from the drill bit in the end grain was disastrous. Filled and sanded they were not too bad- but I should have just filled the slots with pieces of thin wood. . . would have looked better.


The next disaster was finding that the wood in the neck was damaged on the inside, and I thought I could carve away the bad splits- but they went deeper than I thought they would. What a mess!

So, I dug out the ancient and seldom used portable belt sander and put a very coarse belt on it and sanded away the mess. Lost about 1/4" of the thickness. Good thing it was too thick to begin with. Now it is just about right.

Here I'm hand carving the shape of the pillar. I don't want to have a router-generated profile, but a graceful shape that is not and could not be machine generated.

The shoulder/knuckle is an important design element, and I want this to look really graceful. I'm taking off little bits at a time and sneaking up on the shape in my mind.

Once the holes were drilled and the shaping complete I could join the pillar and neck. This was a bit nerve wracking since it was so important that they fit with the body- but I checked a dozen times, so I think it will be OK.


The soundboard was drilled for the strings and the back was cut out for access to the interior, and to let the sound out; and then they were glued to the soundbox. Still some trim work top and bottom of front and back, and finish shaping to do on the base.

Once that is all done I can focus on the dragonfly inlay. I have the mother of pearl wings and ruby eyes ready to go on the holly octagon with the pink ivory frame. This will all take a while, but bit by bit it will get done. Then it will be inlaid into the side of the neck above the pillar. It should look pretty good.

Friday, February 11, 2011

2/12/2011 Harp and Stand Roughed Out

Seventeen days- long time between posts. I meant to make a break between the harp and stand constructions, but they kinda ran together. First, here is what happened to the harp:
I used my trusty Jet 14" band saw with a nice new 3/4" Timberwolf blade to cut out the pillar, neck, and neck reinforcement using 1 7/8" thick cherry wood.


This is what they looked like when all cut out. Then I needed to make holes in them for dowels to reinforce the pillar/neck joint.

These are 3" long, 1/2" diameter redheart dowels set into the holes, but not glued. Nothing will get permanently glued until much later.

Once the pillar and neck were aligned with the harp I could make a temporary attachment of the bottom of the pillar to the base of the harp with a big screw. This will help to hold everything together.

The ebony dowel meets great now with the harp body and the neck.

Here it is altogether- whew! I am happy that everything looks like a decent fit- so far.
The harp is just roughed out- lots of work needs to be done, but I'm going to switch over to the stand now because I know that if I don't bring it along at the same rate as the harp- it will never get done.
Time spent on harp to the end of January: 13 this time, 86 total.

HARP STAND

The angles on the stand are tricky, to say the least. The shelf holds everything together, so it is most critical that it be accurate. Chicken that I am I decided to make it in pine wood first.

Even that wasn't easy, but when everything fit together well I felt better about committing my precious cherry wood.

There was a lot of fine tuning needed to get the cherry legs to fit with the shelf, but I had to get a firm fit there in order to figure out how to make the top of the stand.

Making the holes straight up and down for the pegs to go through the top of the stand was quite a feat. Here I've arranged the nice new angle gauge to the correct angle, and this will go to the drill press for drilling. . . except I have it angled wrong! Good thing hubby came by to help me to hold it steady for drilling. He noticed that I was going in the wrong direction. Saved by the hubby.

Here I'm using a hand drill to drill through the top of the stand into the base of the harp. This is for the brass pins to be able to hold everything in alignment. I got everything crooked, but managed to straighten them out enough and yet not poke through the sides of the wood. It is nothing short of a miracle. I shudda made a jig for the drilling. Live and learn.

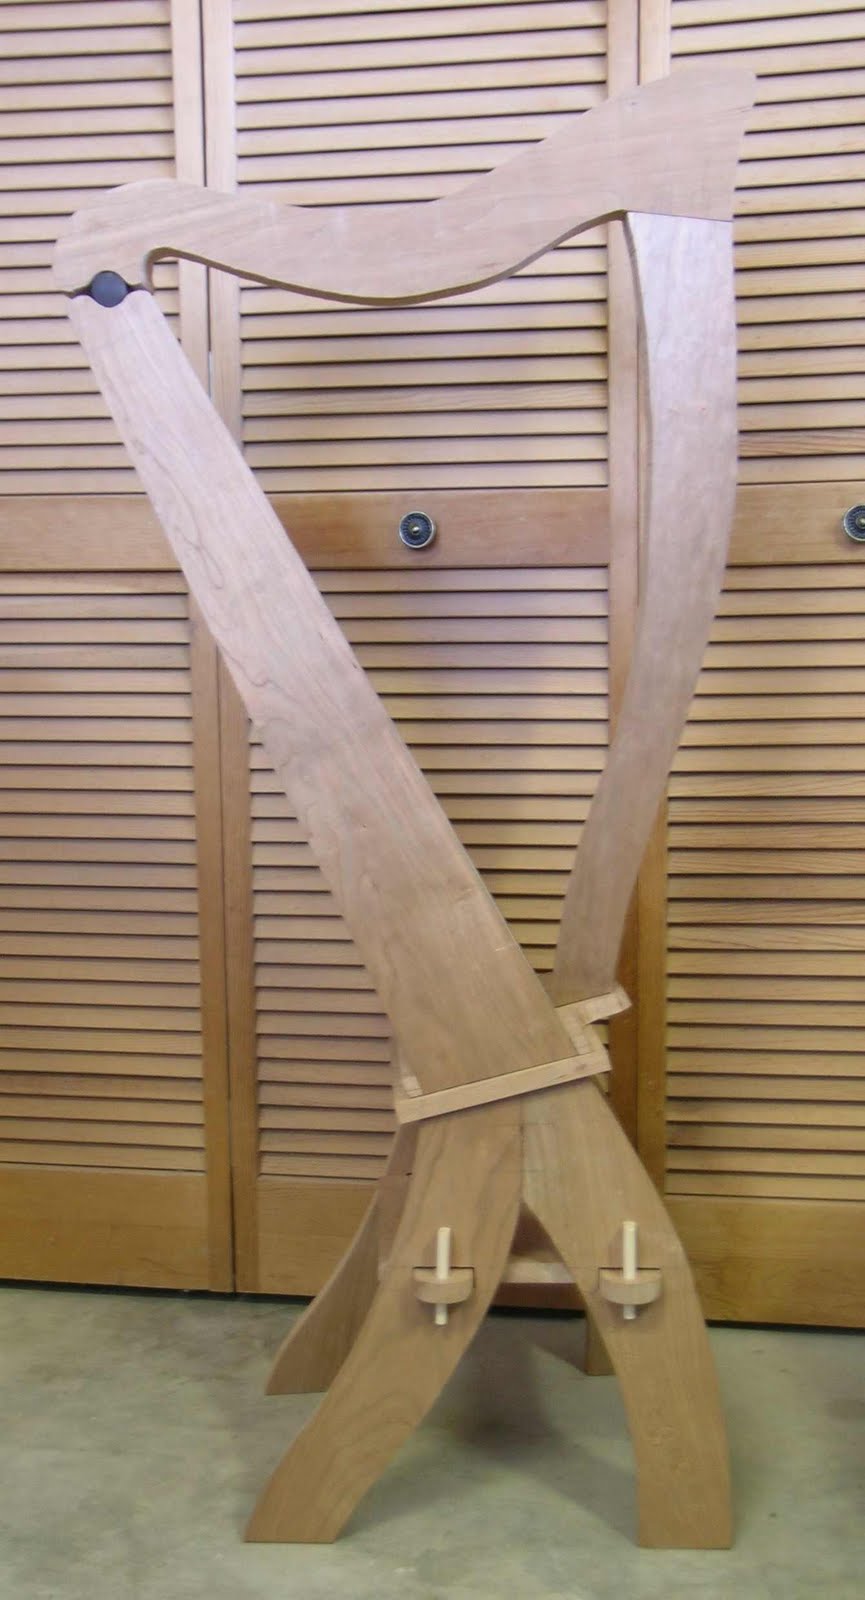
This is the roughly completed harp and stand in cherry. The stand tusk tenon pins are in basswood here, but they will be cherry for the finished project.

Lest you think that the harp is nearing completion, here is a close-up of the harp base- not very refined yet. Edges need a lot of shaping- not sure what I'm going to do yet.

Here up at the top the reinforcement will need a lot of carving to get to the shape I have in mind. Good- I like the carving parts of this job.
I hate to admit it, but I've spent 41 hours on the stand. Added to the 86 harp time that makes 127 hours on the project so far.
Keep in mind that this is a prototype- no plans to work from, so everything is experimental and takes more time- and I'm slow.

Tuesday, January 25, 2011

1/25/2011 Sound Box Completed

Isn't it strange how sometimes you can work and work and have nothing to show for it. Fortunately there are other times when a lot happens in a short period of time.

One of the tricky parts of this design is the pillar ending outside of the soundbox. For this to work the grain of the wood had to run front to back. However, construction for the Limerick says that it is important to have the direction running side to side. My solution is a laminate of wood added on the interior- going side to side. Think of it like a really thick plywood. Should be plenty strong. First I made the board by gluing a resawn piece of lumber, and then sanding it flat.

All the angles had to be matched in order to get a good fit. Then it had to be glued to the bottom in exactly the right place.

Sweet- this is just about as good as it could get. I'm proud.

I was looking forward to doing this little bit of turning. The dowel on which the neck rests is of ebony. I had some just the right size, so it just needed to be turned and finish sanded. I rounded the ends- carefully, using the big belt sander with a 60 grit belt- kinda like running it on a gravel road. Then I sanded it to 220 on the belt sander.

This may not look too good yet- but I know what I'm doing- or at least I hope so. No way to cut this out square, so I just cut each profile using a 1/8" Timberwolf blade on my 37 year old Craftsman band saw with each side flat to the table. Now I just need to even it out some.

Here are some of the tools- a very coarse rasp and a coarse, round micro-plane file. Between the two and a bit of sandpaper it came out great. Finessed the groove for the dowel by wrapping sandpaper around the dowel and using it to make it a super fit- gotta give hubby credit for that idea.

I haven't shown the soundboard and back board, but they are complete and ready to go in later on. Cutting and fitting took quite a while- but then I tapped on the boards while they were in place- and got a really great sound. A good omen for a great sounding harp- I hope.
Now I get to cut the neck and pillar out of 2" thick cherry boards.
Time: 13 hours Total: 73

Thursday, January 20, 2011

1/20/2011 S-L-O-W Going

Days and days of mostly just staring at the dumb thing wondering why- oh why- things did not meet the way they should. Take a little off here- then a little off there- shoot!- think I took some off the wrong side. This was not the way to go.

My micro-plane was going to be my salvation, but it may have created more problems than it fixed.

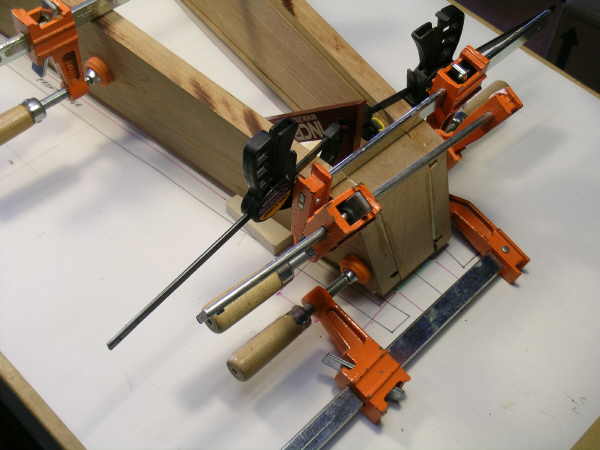
Talk about creative clamping! Trying to get all the angles right and everything where it is supposed to be so that the screws in the base will end up in the right places. Not so effective.

The base is screwed- (no comments from the peanut gallery)- but the sides are not in the correct alignment. Fiddled with it every day (day after day) for 2-4 hours and still didn't have it just right. Finally gave up and decided to work from the neck down. Maybe the top of the harp (knee block) will be able to keep everything aligned and I can drill yet another set of holes in the base- running out of room there now.

We won't even go into how many hours were spent taking the measurements for this paper pattern. It seemed to fit fairly well, so I made a cereal carton cardboard model to see if it was going to fit.


I glued up some scraps of cherry to make a big enough block for the knee-block, and then I cut it using the band saw. Not a good fit at all. Took it to the big belt sander to refine some of the angles. Finally used hand sanding on a flat surface to get it pretty close.

Went shopping for some new toys. Gotta be a better way to measure small angles on small areas. Finally got a digital angle gauge and angle-measure-thingy at Home Depot. They both work fairly well, and I like the digital readout, but there is no way to accurately measure an angle when the side is just 1/4" wide. Lesson learned- cut it right the first time- dummy!

Dry run to fine tune the details. Lining things up on the plans is a big help. It ain't perfect, but I think it just may be close enough.


Ready or not- it is glued. Tough job because of all the weird angles. It wanted to squish out when the glue was applied. Lots of clamps and lots of glue and I'll know tomorrow morning whether or not it will do.
After the screws are in the base correctly I can measure for and cut the soundboard and back board. Once they are cut I can work on them for adding the string reinforcement and decoration to the soundboard, and put the sound-holes in the back board. That should be easy. Nothing could be as hard as making and fitting and gluing that knee block and making the base.
Time- 8 days, 23 hours
Total= 60