 I used my trusty Jet 14" band saw with a nice new 3/4" Timberwolf blade to cut out the pillar, neck, and neck reinforcement using 1 7/8" thick cherry wood.
This is what they looked like when all cut out. Then I needed to make holes in them for dowels to reinforce the pillar/neck joint.

These are 3" long, 1/2" diameter redheart dowels set into the holes, but not glued. Nothing will get permanently glued until much later.

Once the pillar and neck were aligned with the harp I could make a temporary attachment of the bottom of the pillar to the base of the harp with a big screw. This will help to hold everything together.

The ebony dowel meets great now with the harp body and the neck.


Here it is altogether- whew! I am happy that everything looks like a decent fit- so far.
The harp is just roughed out- lots of work needs to be done, but I'm going to switch over to the stand now because I know that if I don't bring it along at the same rate as the harp- it will never get done.
Time spent on harp to the end of January: 13 this time, 86 total.
HARP STAND
The angles on the stand are tricky, to say the least. The shelf holds everything together, so it is most critical that it be accurate. Chicken that I am I decided to make it in pine wood first.

Even that wasn't easy, but when everything fit together well I felt better about committing my precious cherry wood.

There was a lot of fine tuning needed to get the cherry legs to fit with the shelf, but I had to get a firm fit there in order to figure out how to make the top of the stand.

Making the holes straight up and down for the pegs to go through the top of the stand was quite a feat. Here I've arranged the nice new angle gauge to the correct angle, and this will go to the drill press for drilling. . . except I have it angled wrong! Good thing hubby came by to help me to hold it steady for drilling. He noticed that I was going in the wrong direction. Saved by the hubby.

Here I'm using a hand drill to drill through the top of the stand into the base of the harp. This is for the brass pins to be able to hold everything in alignment. I got everything crooked, but managed to straighten them out enough and yet not poke through the sides of the wood. It is nothing short of a miracle. I shudda made a jig for the drilling. Live and learn.

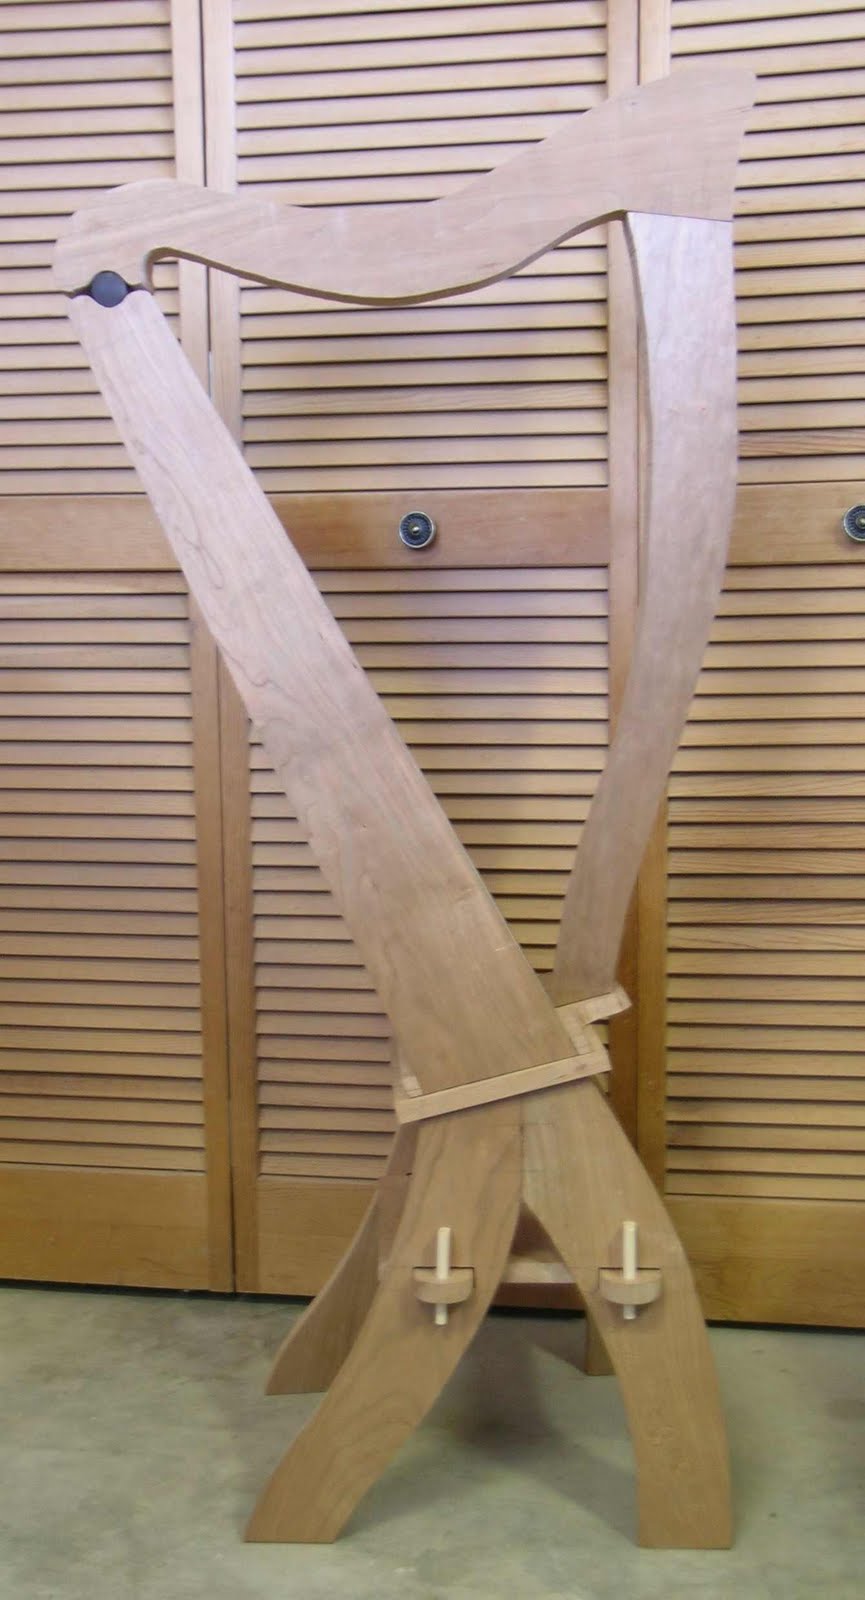
This is the roughly completed harp and stand in cherry. The stand tusk tenon pins are in basswood here, but they will be cherry for the finished project.


Lest you think that the harp is nearing completion, here is a close-up of the harp base- not very refined yet. Edges need a lot of shaping- not sure what I'm going to do yet.

Here up at the top the reinforcement will need a lot of carving to get to the shape I have in mind. Good- I like the carving parts of this job.
I hate to admit it, but I've spent 41 hours on the stand. Added to the 86 harp time that makes 127 hours on the project so far.
Keep in mind that this is a prototype- no plans to work from, so everything is experimental and takes more time- and I'm slow.
No comments:
Post a Comment