
I had these beautiful abalone mother-of-pearl wings provided to me by a fine Lumberjock. She also did a great blog about how to do inlays, and that was very helpful to me. I didn't follow instructions exactly (remind me to kick myself in the butt next time) but decided I could hand carve the voids for the dragonfly.


It went pretty well actually, though I found out too late that one of the wings set into the void at an angle (my fault) and I had to sand a lot to get it all flat. No harm done- except to my fingertips.

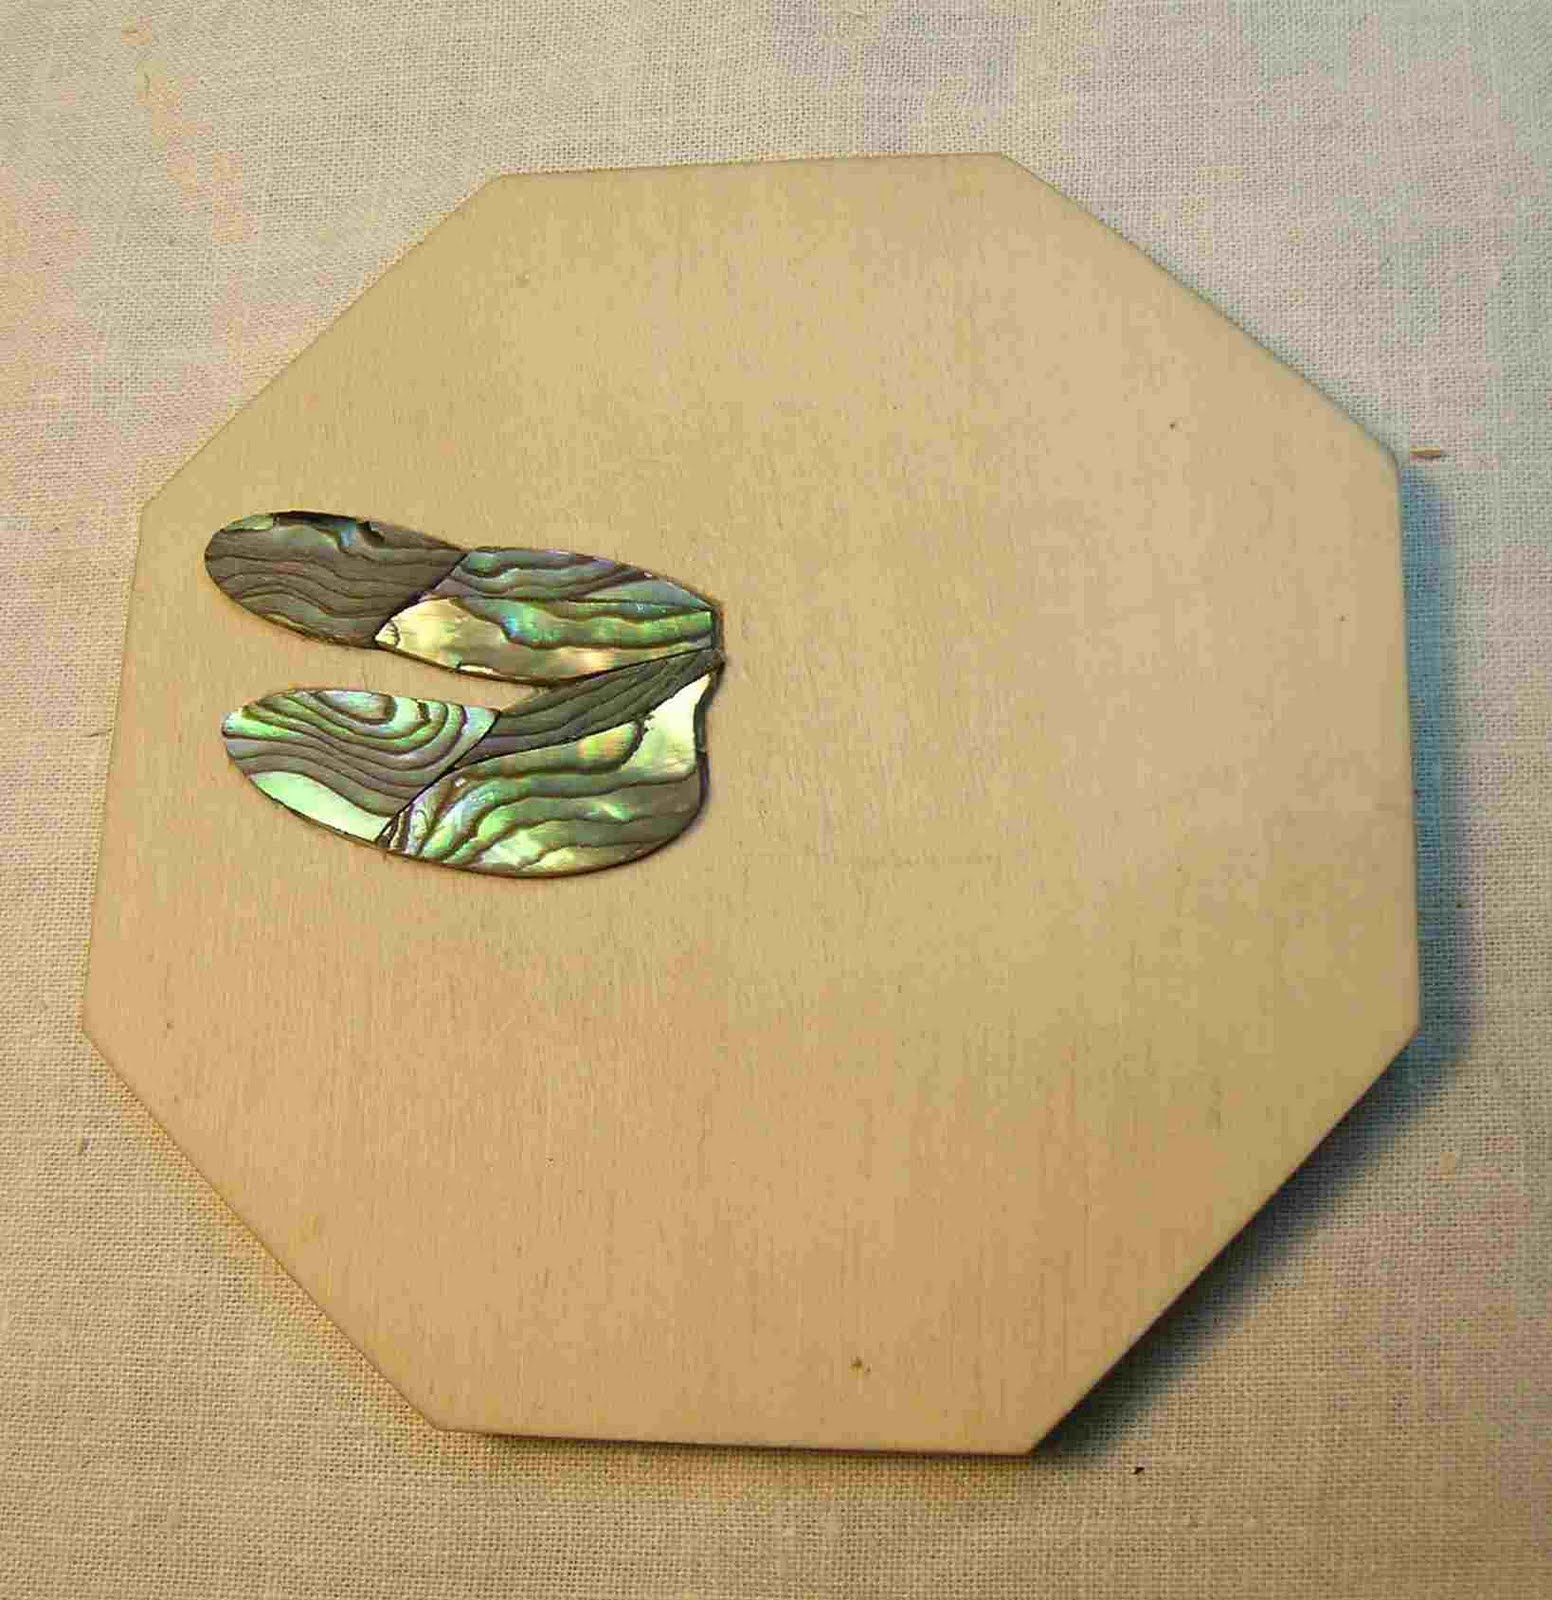
I used my micromotor tool with a carbide cutter to gently shape the body of the dragonfly to fit between the wings. The central edges of the wings were trimmed a tad after they were epoxied into place.


Getting the eye-sockets big enough to hold the ruby eyes was a trick. There was not much wood to work with, but ebony is a wonderfully dense wood, and it is strong. The holes are 4mm long, and the area between them is less than 1mm wide. The hole between the eye-sockets will let the light shining into one eye to shine through to the other eye. I also lined the sockets with aluminum foil to reflect light like a mirror through the rubies.

After the inlay was done I needed to frame it with 1/8" wide pink ivory pieces. This was not easy. If I were to do it again I would do it differently- using the 'big boy tools'- table saw and router table. My Mickey Mouse approach using band saw and lots of sanding was not too efficient, but it did work OK.
This was tricky. I attached the holly to a piece of scrap using light-duty double-sided tape, and then epoxied the frame pieces to the sides of the holly. The tape helped to keep everything together. The tongue depressor was used to tuck the frame pieces snugly against the holly. I'm sure there must be a better way- I just could not think of one.


Figuring out how to finish off some raw edges took a lot of head-scratching. I ultimately settled on a curvy border design to echo some of the curves in the neck and pillar. Again I did it the hard way with band saw and lots of hand sanding. Labor intensive, true- but lots of control too.
My gluing left a lot to be desired as you can see in the photo with dried squeeze-out. For shame. And at the corner there is a patch job that is less than gorgeous. So a little more time spent scraping and sanding to get the same place looking like the second photo.


Tis series of 4 photos shows the evolution of the reinforcing piece from wood choice and design to finish. I chose pink ivory because it is beautiful, and matched the pink ivory frame on the insert. And, I like pink.
After gluing it in place using yellow glue I shaped it with power sanders, this scraper, and (yet again) lots of hand sanding. The pay off was in putting the oil finish and seeing the colors of the wood as they will look on the finished harp. (note- oiling was done all at once- this photo out of sequence)

Now, to inlay the inlay into the harp. I used double-sided tape to hold it in place as I traced around it with a good carving knife. One could use a scribe, but a deeper cut is better. I started shallow and then made multiple cuts until it was deep enough.

Mostly I used this wide carving chisel to make the stop cuts around the perimeter of the inlay area. Then, I used a variety of shallow and smaller gouges to clean it out down to the 1/8" goal.

Ta-da! Doesn't look too pretty, but it is all I need to make a good gluing surface for the inlay.

I wasn't sure if I wanted to go straight to the Arm-R-Seal clear finish, or start with a tinted Watco oil in Cherry, so I did a sample on a similar piece of cherry to see the difference. I could see no difference- they both looked great to me, but hubby liked the oil so I proceeded to coat the entire harp with the oil first.
I had forgotten two things:
#1. Cherry tends to stain blotchy
#2 The white woods would also be stained since there was no way to keep them from the oil.


Well, the insert looks good in this photo, though there is a gray area in the holly that I don't think I can do anything about at this point. It was on the back of the holly too.
The neck and pillar are pretty uneven in color now, but I'm hoping that it will even out when the oil has cured.

The soundboard has me worried because the stain took strangely to the 600 grit sanded birch ply. It may look good when the clear finish is on. Or, maybe I should sand it before the final finish. Opinions?

The stand looks best of all. With such smooth and sanded surfaces it was a no-brainer. Hmmmm.

This is the ebony pivot dowel with a piece of brass rod inserted to keep it from sliding sideways on the harp body. This way the end of the neck can pivot freely as the strings tighten. It looks a lot better with finish, but I wanted to not forget this part. Drilling the holes were a lot easier than anticipated- whew.
Post-Script
Now I know you are all thinking. . . finally, all done. Hah. Nope. At least 2 coats of Arm-R-Seal with two surfaces at a time and plenty of drying/curing time in between.
When that is all dry as a bone it is time to fit her out with some jewelry- the soundboard hole reinforcement, and the tuning pins, and the other pins.
Then- the strings, and tuning. Tuning will take a couple of weeks of daily tuning, more than once a day, before it will stay in pitch for more than a minute. I will post a video before then though- so we can all hear how it sounds. Also, I want to show everyone how the stand goes together and fits with the harp. Stay tuned.
Beautiful work Donna! It's wonderful to see someone's interests lead them to a new craft. Building an instrument requires such precision. I don't have the patience to do such exacting work - I'm too much of a free-spirit. But I can admire the craftsmanship that you have put into this harp! Thank you for sharing :)
ReplyDelete~Jackie
Thanks- and I can appreciate the unbelievable creativity you have- without having much myself. Good thing the world has both of us to keep in balance- LOL.
ReplyDelete